linux部署VLLM、大模型(详细图文)
本文介绍了vllm的安装部署流程:1)创建Python3.10虚拟环境,安装vllm和PyTorch(需验证CUDA可用性);2)安装flash-attn解决长序列处理的性能问题,并提供测试脚本验证安装;3)演示如何使用modelscope下载Qwen1.5-1.8B模型(支持git lfs管理大文件),并说明删除方法。整个过程涵盖环境配置、依赖安装和模型部署等关键步骤,为高效运行大语言模型提供完
·
一、安装vllm
创建虚拟环境(版本确保是3.8~3.11)
conda create -n vllm_env python=3.10 -y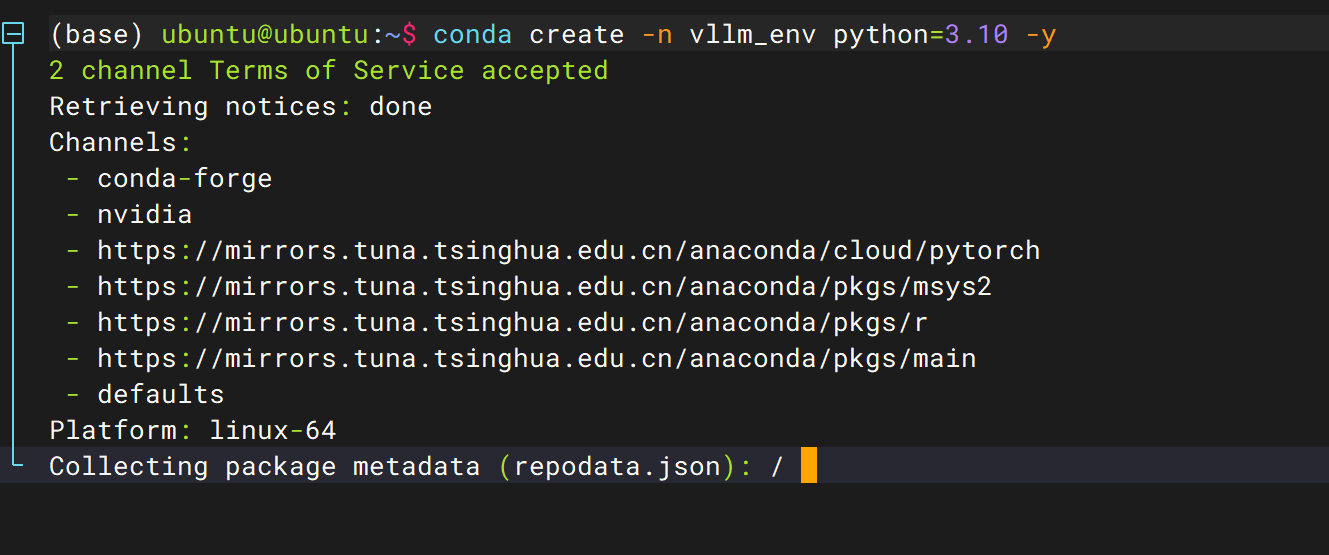
激活虚拟环境
conda activate vllm_env
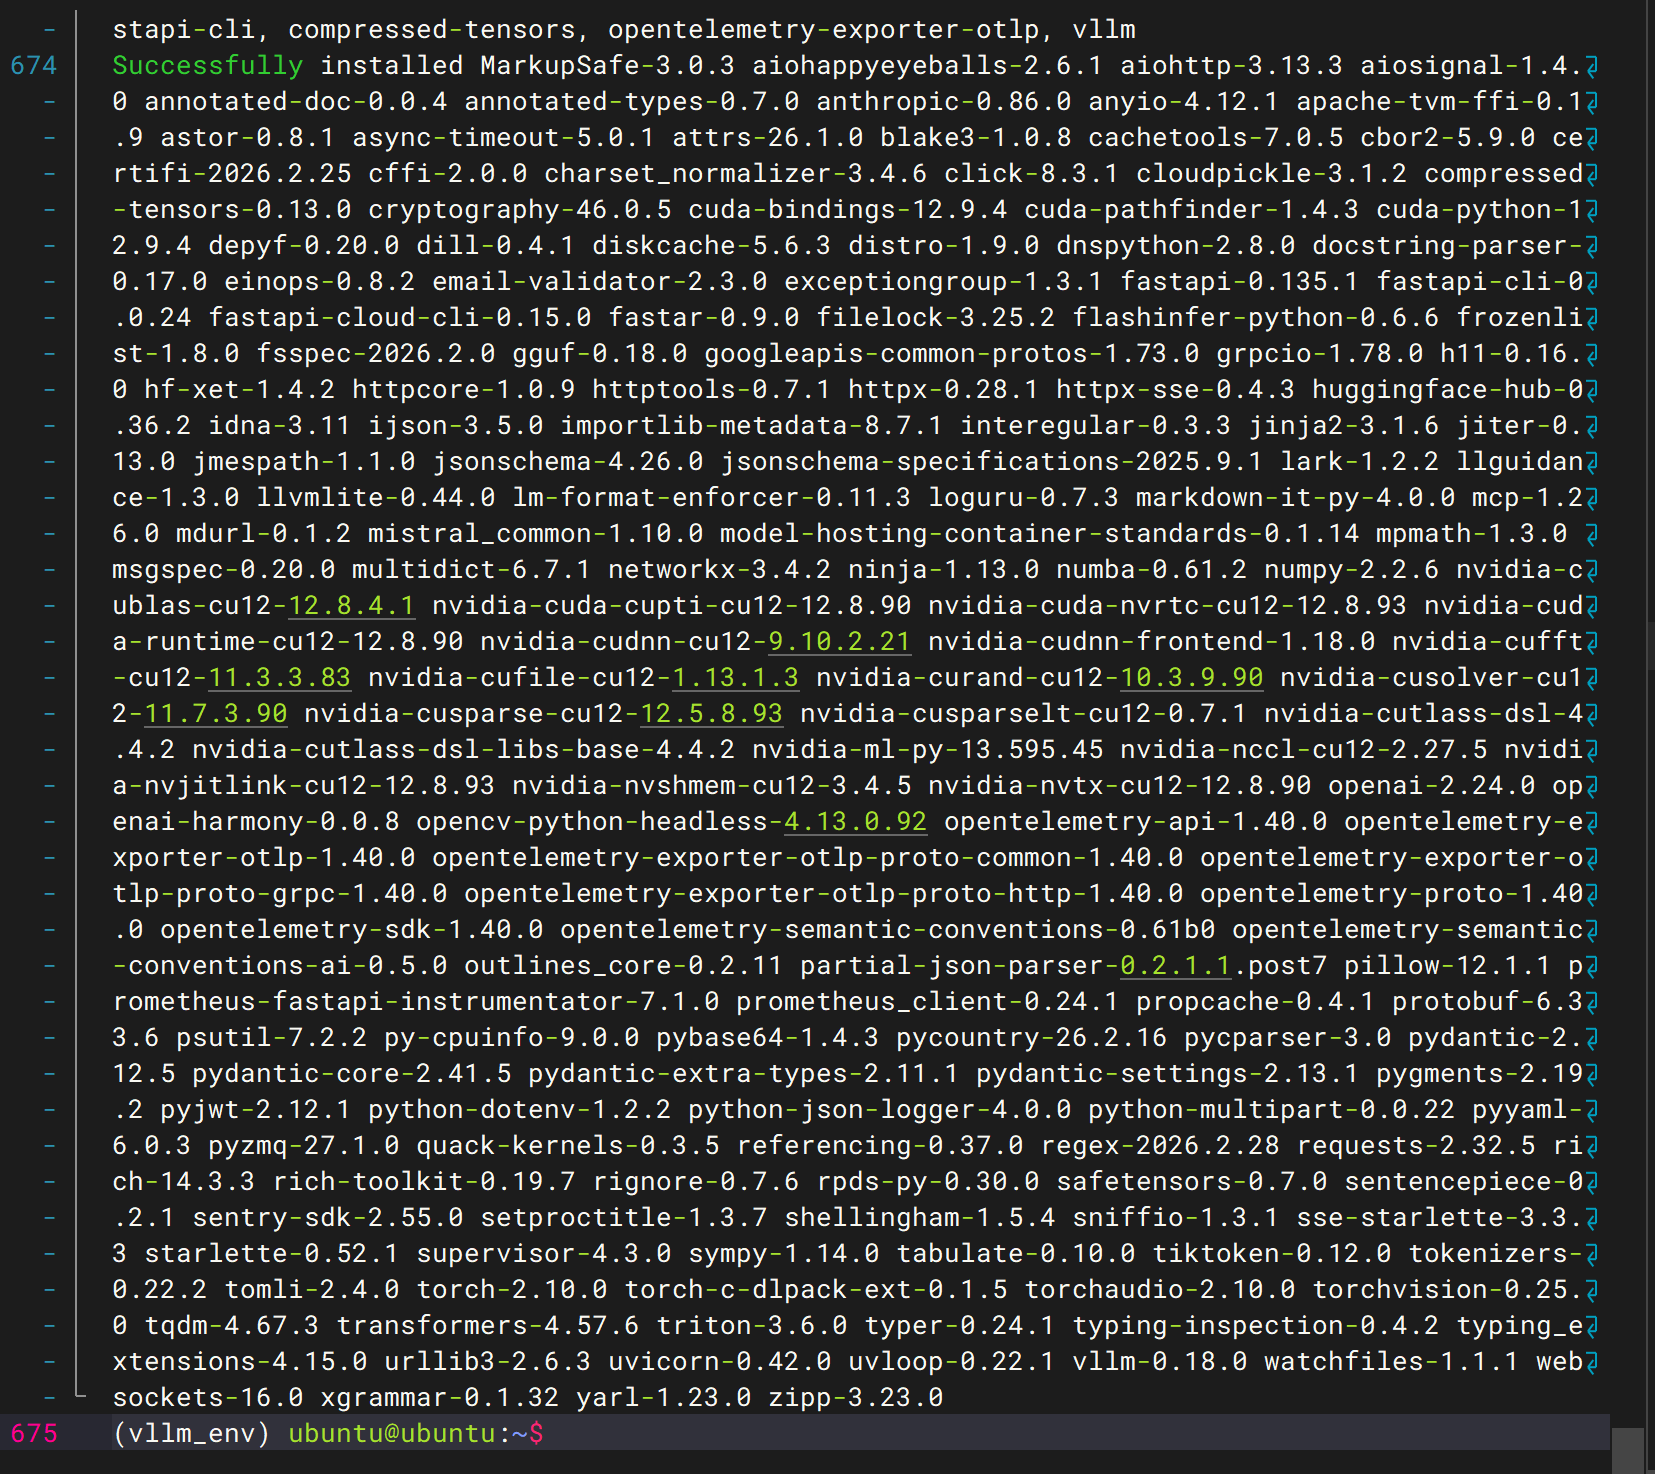
安装vllm
pip install vllm

安装torch(用于深度学习的并行计算)
pip3 install torch torchvision torchaudio --index-url https://download.pytorch.org/whl/cu121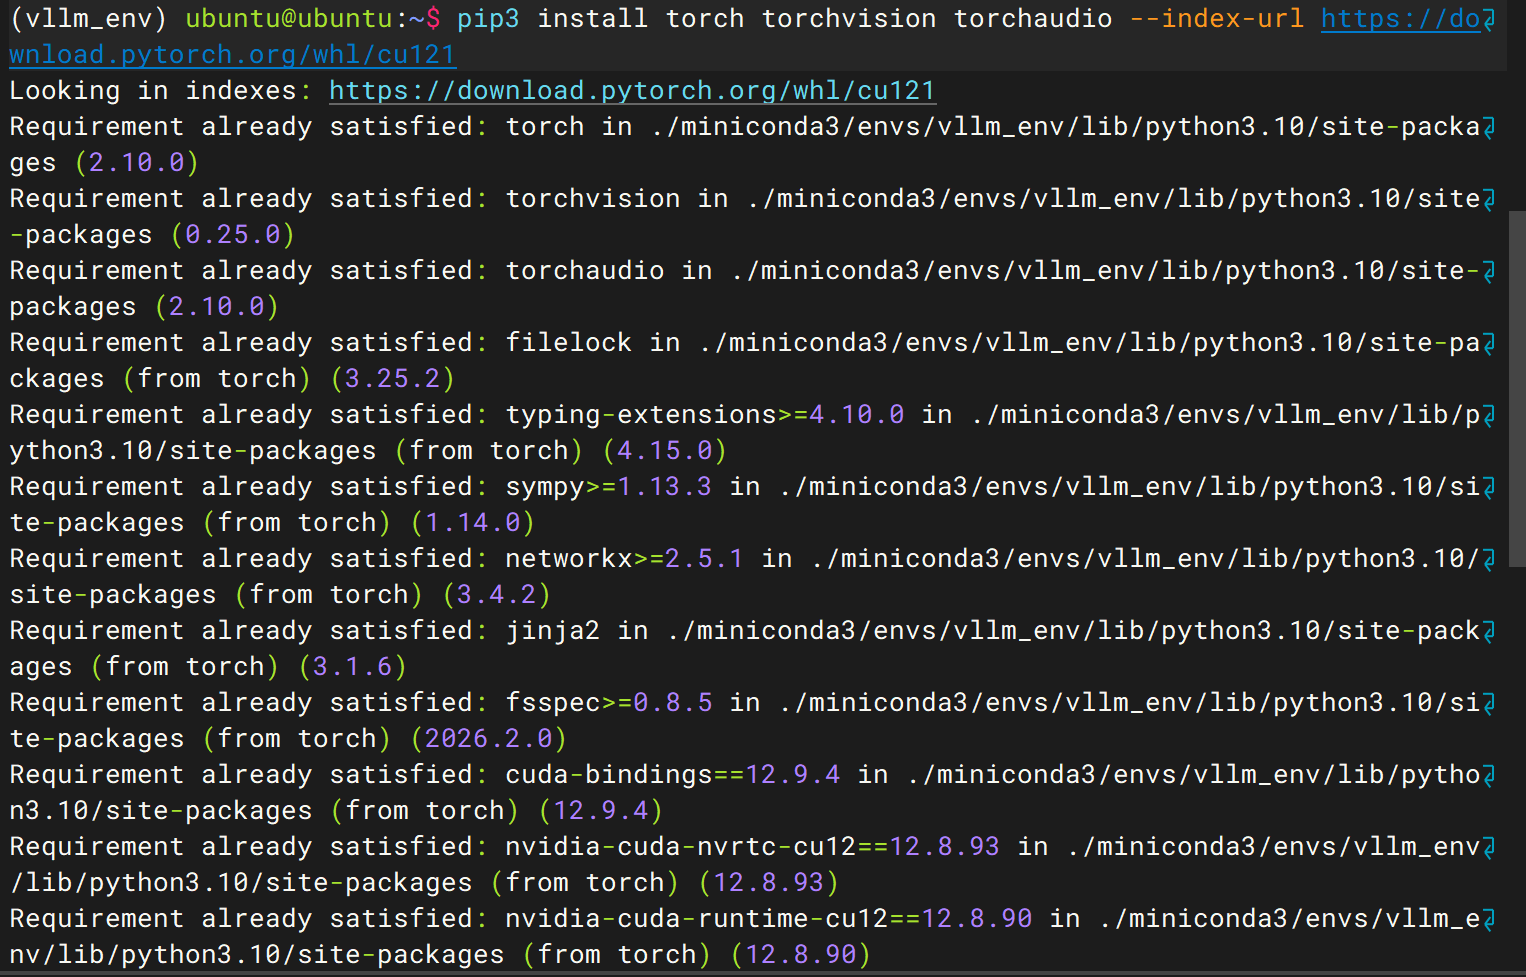
验证torch是否安装成功
python -c "import torch; print('PyTorch版本:', torch.__version__); print('CUDA版本:', torch.version.cuda); print('GPU可用:', torch.cuda.is_available())"
安装fast_attention(处理标准注意力在长序列场景下的内存爆炸与IO 瓶颈问题)
conda install -c conda-forge flash-attn=2.5.8测试fast_attention是否安装成功
nano test.py在文件里粘贴这些代码
# 验证 flash-attn 是否安装成功的测试脚本
import torch
from flash_attn import flash_attn_func

# 检查 GPU 是否可用
if not torch.cuda.is_available():
    print("❌ 未检测到 GPU,请确认 PyTorch CUDA 版本安装正确")
else:
    # 生成 fp16 精度的 Q/K/V 张量(适配 GPU)
    q = torch.randn(2, 1024, 16, 64, device="cuda", dtype=torch.float16)
    k = torch.randn(2, 1024, 16, 64, device="cuda", dtype=torch.float16)
    v = torch.randn(2, 1024, 16, 64, device="cuda", dtype=torch.float16)

    # 执行 flash-attn 计算
    try:
        out = flash_attn_func(q, k, v)
        print(f"✅ flash-attn 安装成功!输出 shape: {out.shape}")
    except Exception as e:
        print(f"❌ flash-attn 执行失败,错误信息:{e}")
执行文件
python test.py
安装成功

删除py文件
rm test.py到此vllm安装完成
二、使用vllm部署大模型
先下载魔搭社区
pip install modelscope下载git工具
git lfs installgit clone https://www.modelscope.cn/Qwen/Qwen1.5-1.8B.git安装完成
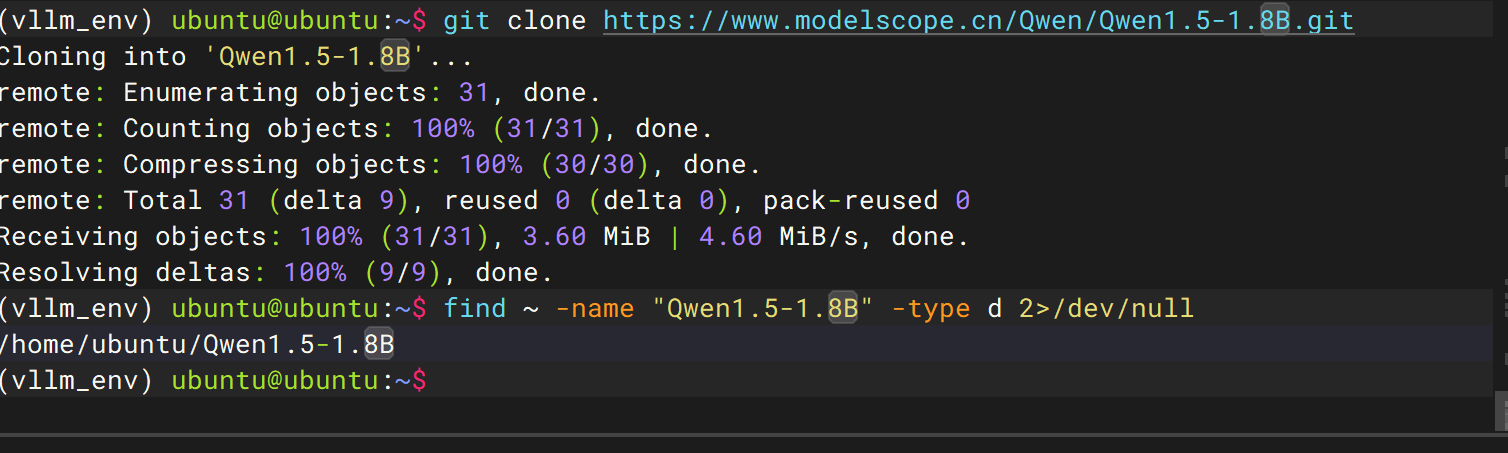
![]()
如果不想要这个模型了,可以删除
rm -rf ~/Qwen1.5-1.8B
昇腾计算产业是基于昇腾系列(HUAWEI Ascend)处理器和基础软件构建的全栈 AI计算基础设施、行业应用及服务,https://devpress.csdn.net/organization/setting/general/146749包括昇腾系列处理器、系列硬件、CANN、AI计算框架、应用使能、开发工具链、管理运维工具、行业应用及服务等全产业链
更多推荐


 1
1 0
0- 0


 已为社区贡献2条内容

所有评论(0)